
How Do I Create My Own Custom Weather Tool Using the Web Zone?
To create a more detailed weather forecast tool you can use a web based solution combined with the web zone of your Template. This solution can be used to display weather anywhere in the world.
Section 1 ‐ Creating a URL
1 of 10. Begin by going to Google.com and typing in the name of your city then "weather" (for example "New York weather") and copy the URL in the address bar:
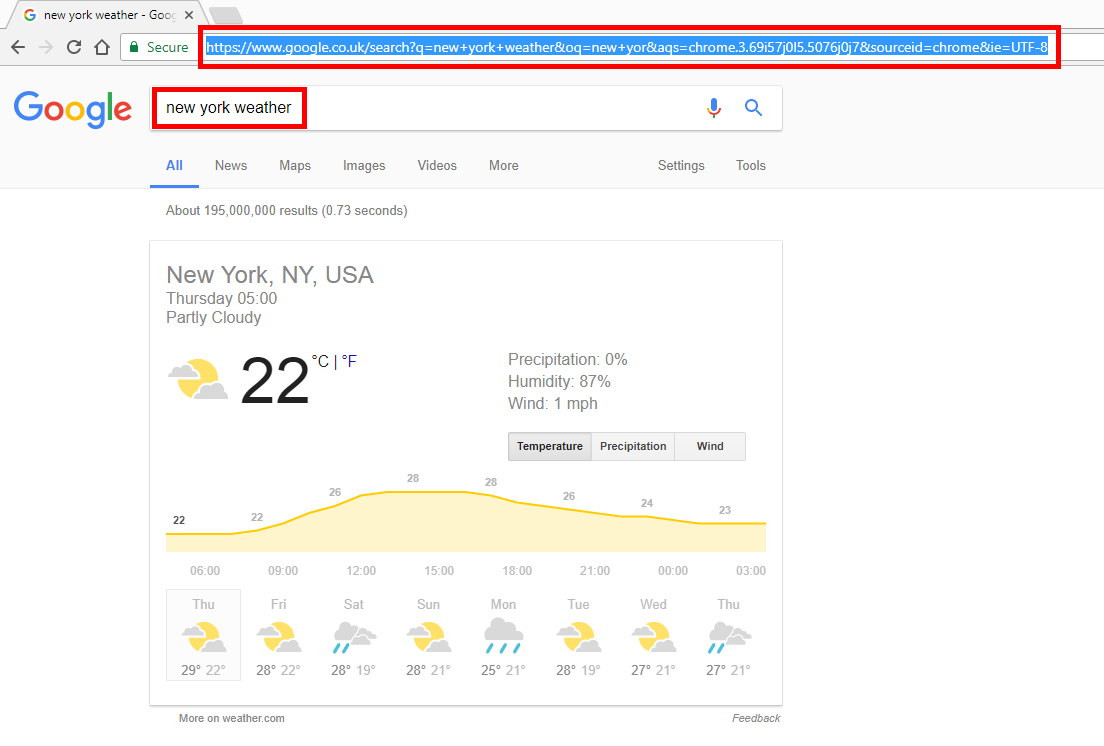
2 of 10. Add "#wob_wc" after the URL (for example "https://www.google.co.uk/search?q=new+york+weather&oq=new+yor&aqs=chrome.3.69i57j0l5.5076j0j7&sourceid=chrome&ie=UTF-8#wob_wc")
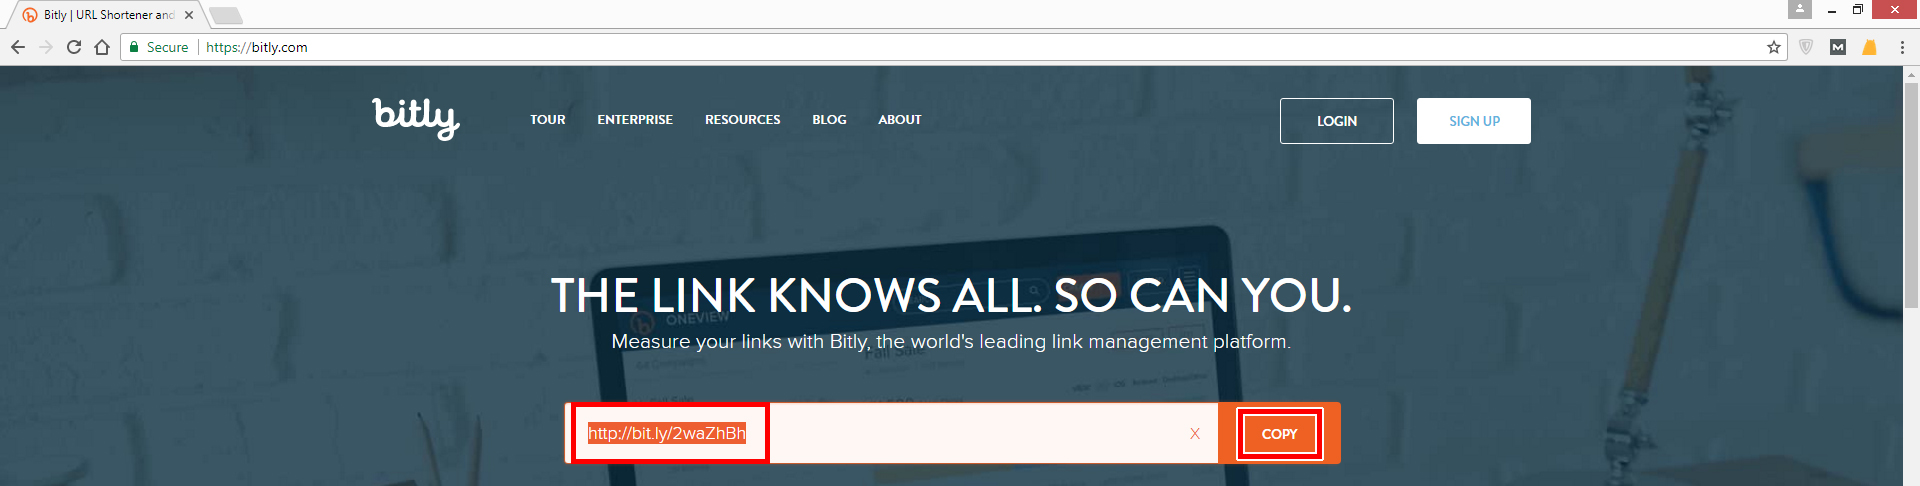
3 of 10. Go to bitly.com then copy and paste the updated URL into the "shorten" field, then copy the shortened URL:
Section 2 ‐ Creating the Web Zone and Populating it
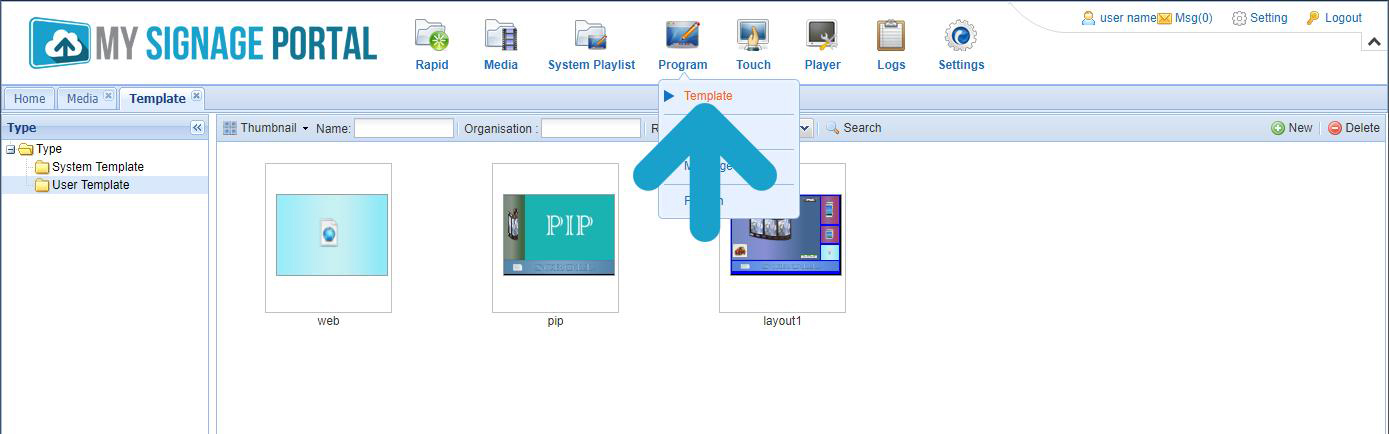
4 of 10. Once logged into the CMS hover over the "Program" icon on the Top Menu, then click "Template":
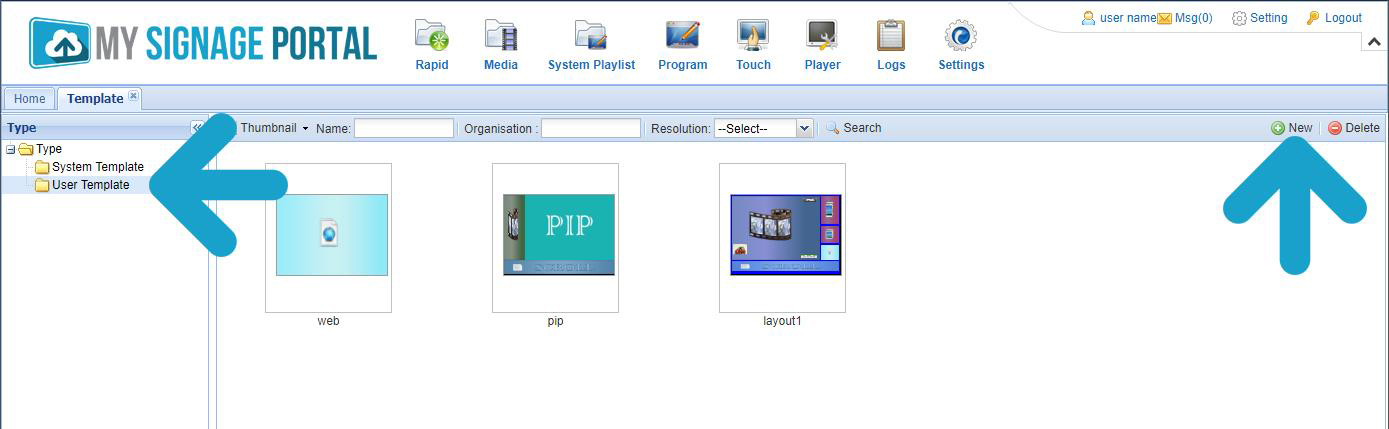
5 of 10. To create your own Template you must first select "User Template" from the menu on the left then click the "New" button on the right hand side:
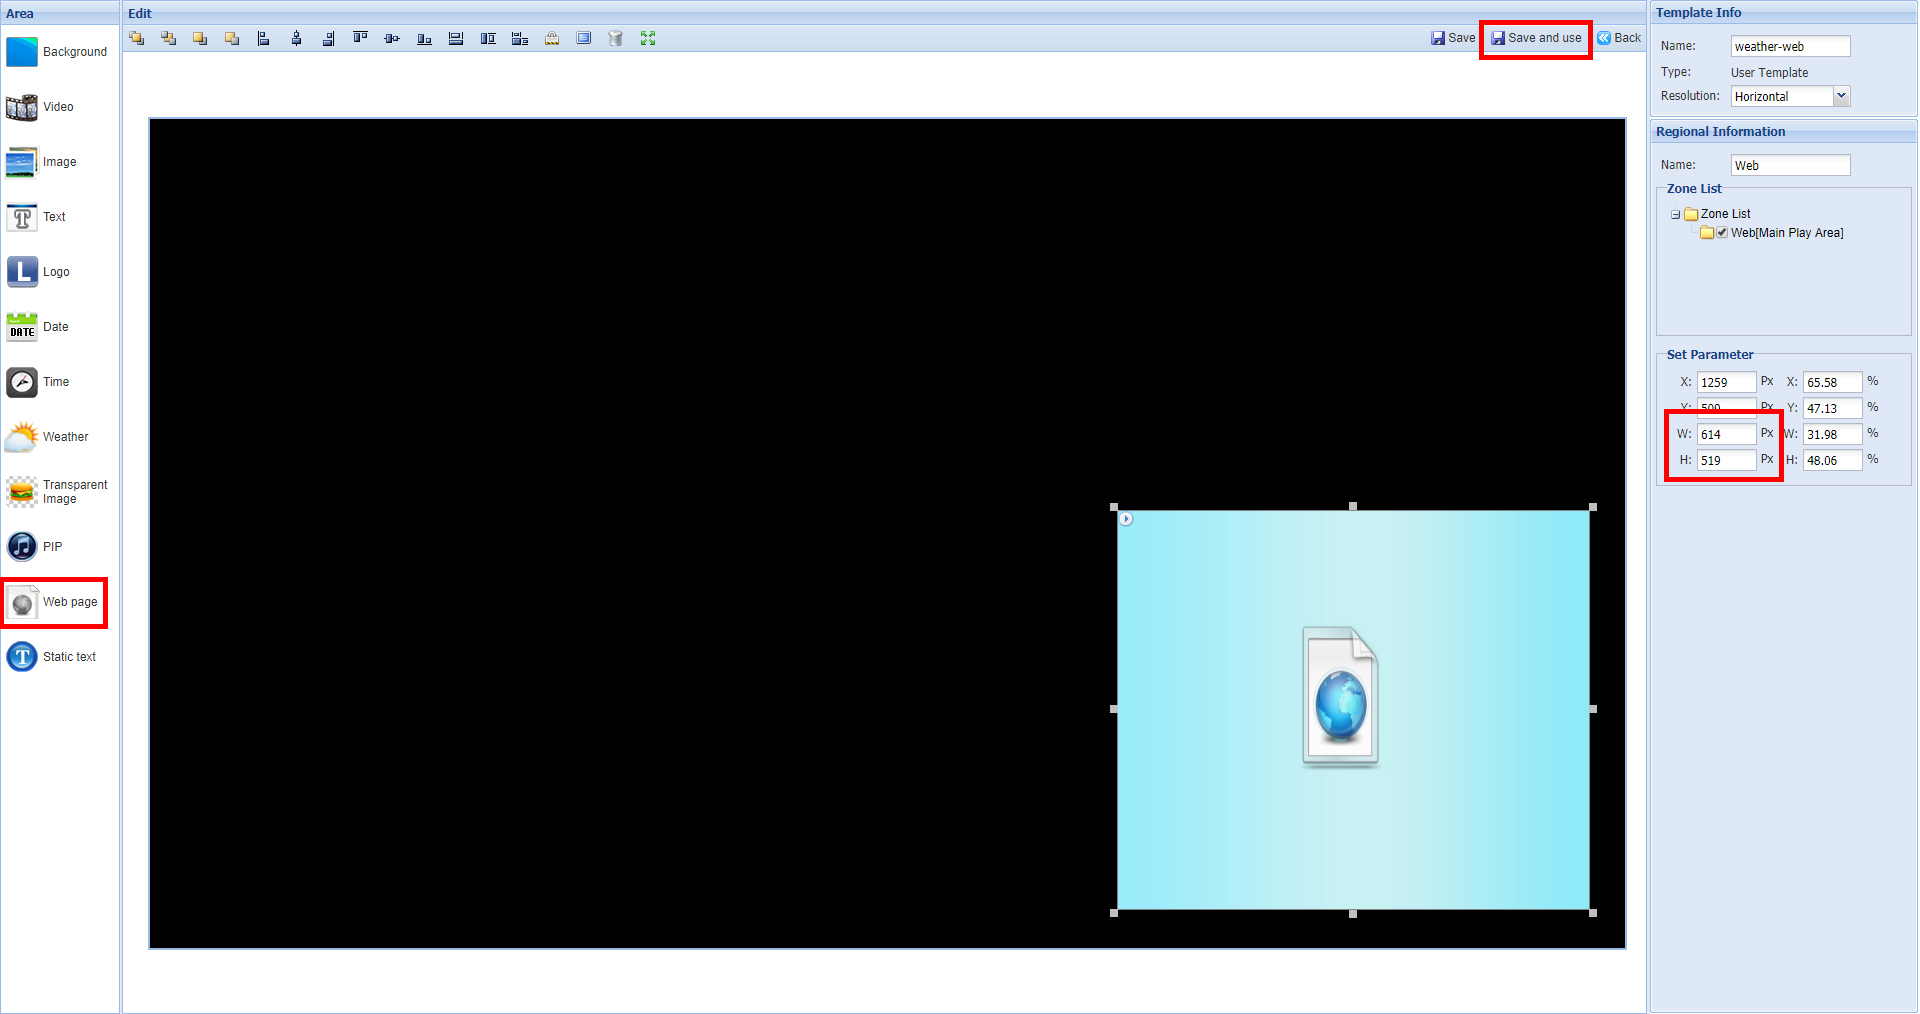
6 of 10. Create your layout and include a "Web page" zone and size it 614 x 519 pixels in the "Set Parameter" section. When finished click "Save and use":
7 of 10. When creating your Playlist, select the "Web" tab at the bottom and click the green "+" button:

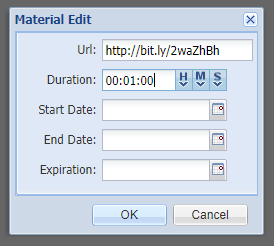
8 of 10. Paste the bitly URL into the "URL" field and set a duration of 1 minute and click "OK":
9 of 10. Repeat the last two steps to add the URL again, this will ensure that the weather page is refreshed automatically every 1 minute:

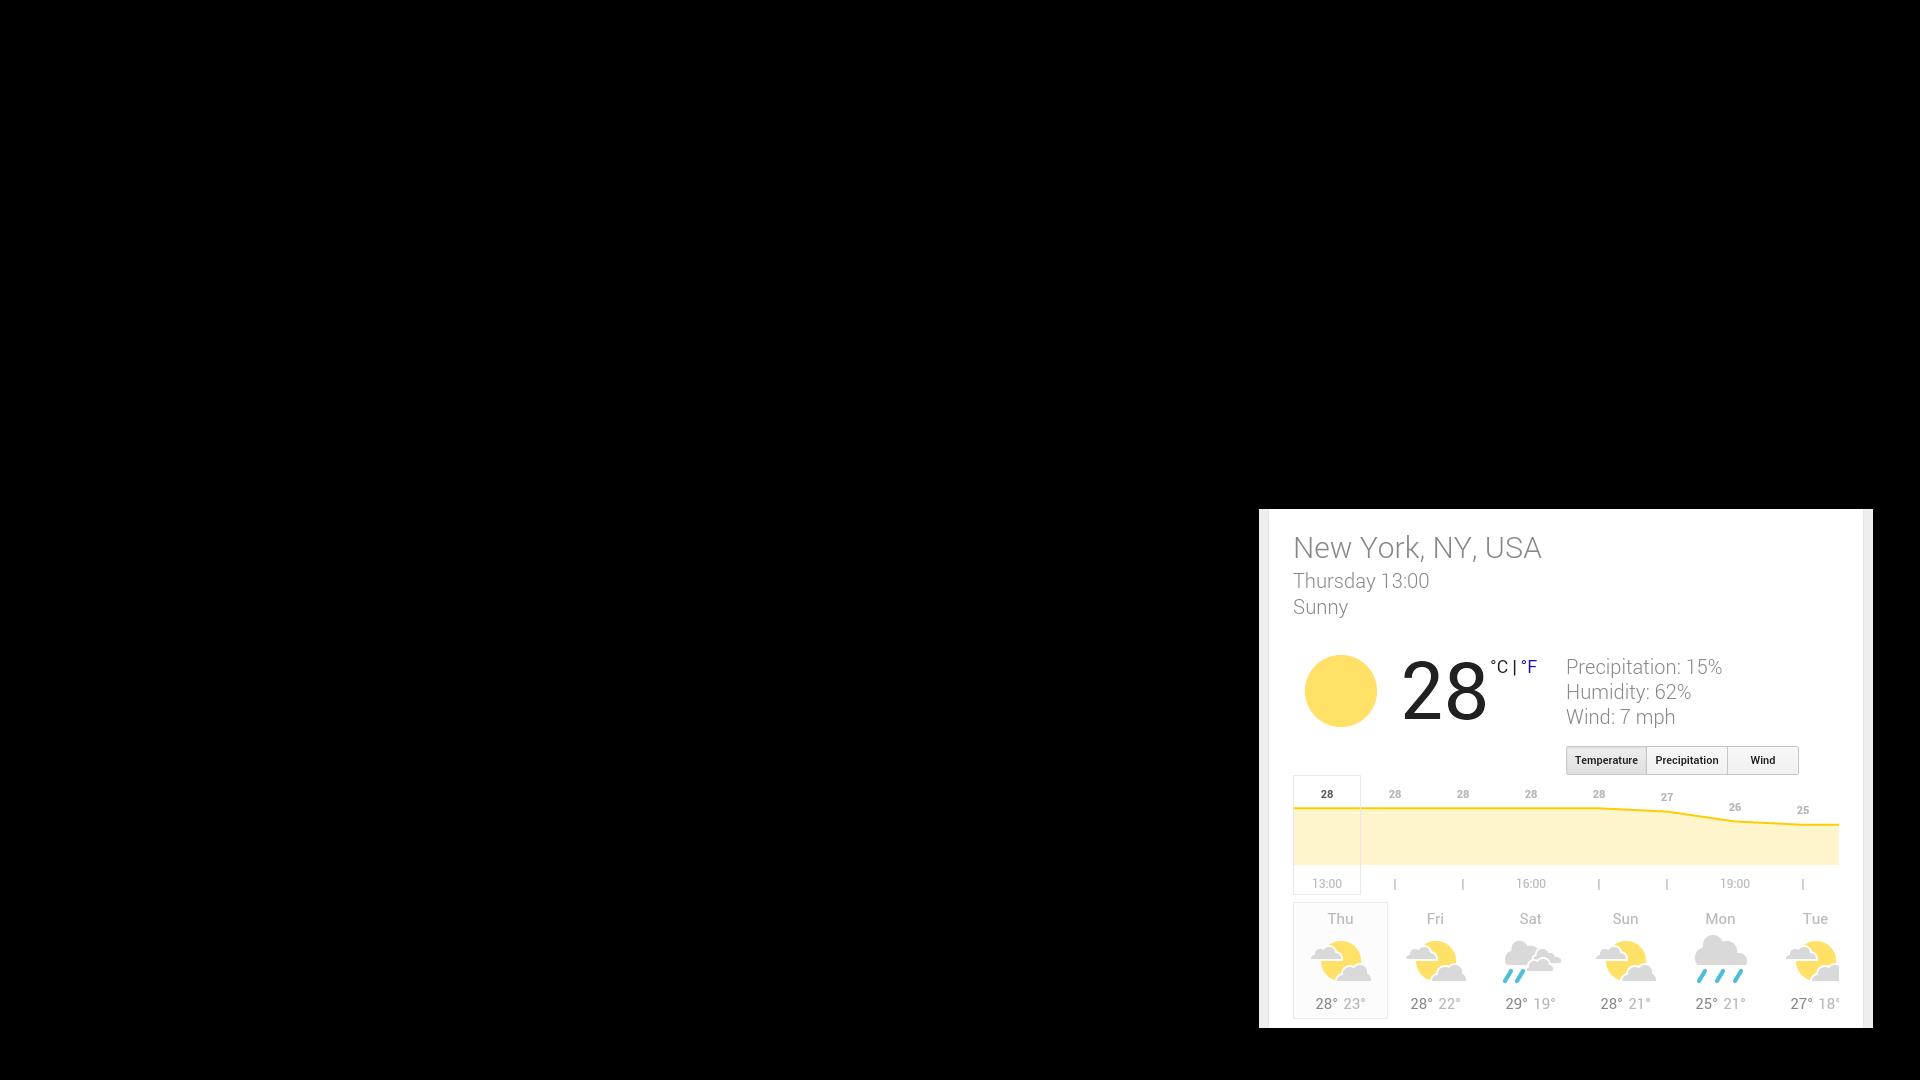
10 of 10. You can now save and publish your Playlist and the weather will be displayed on your screen like so:
For full Template creation instructions please download the appropriate User Manual.